Difference between revisions of "Team:Cambridge-JIC/Webshell"
KaterinaMN (Talk | contribs) |
Maoenglish (Talk | contribs) |
||
| Line 77: | Line 77: | ||
<section style="background-color:#fff"> | <section style="background-color:#fff"> | ||
| − | <div class="slide"> | + | <div class="slide" > |
| + | <a name="tutorial"></a> | ||
<div style="width: 100%; padding:0% 10%;margin: 10px 0px;color:#000"><h3>The WebShell in Action</h3></div> | <div style="width: 100%; padding:0% 10%;margin: 10px 0px;color:#000"><h3>The WebShell in Action</h3></div> | ||
<center> | <center> | ||
Latest revision as of 22:19, 18 September 2015
WebShell
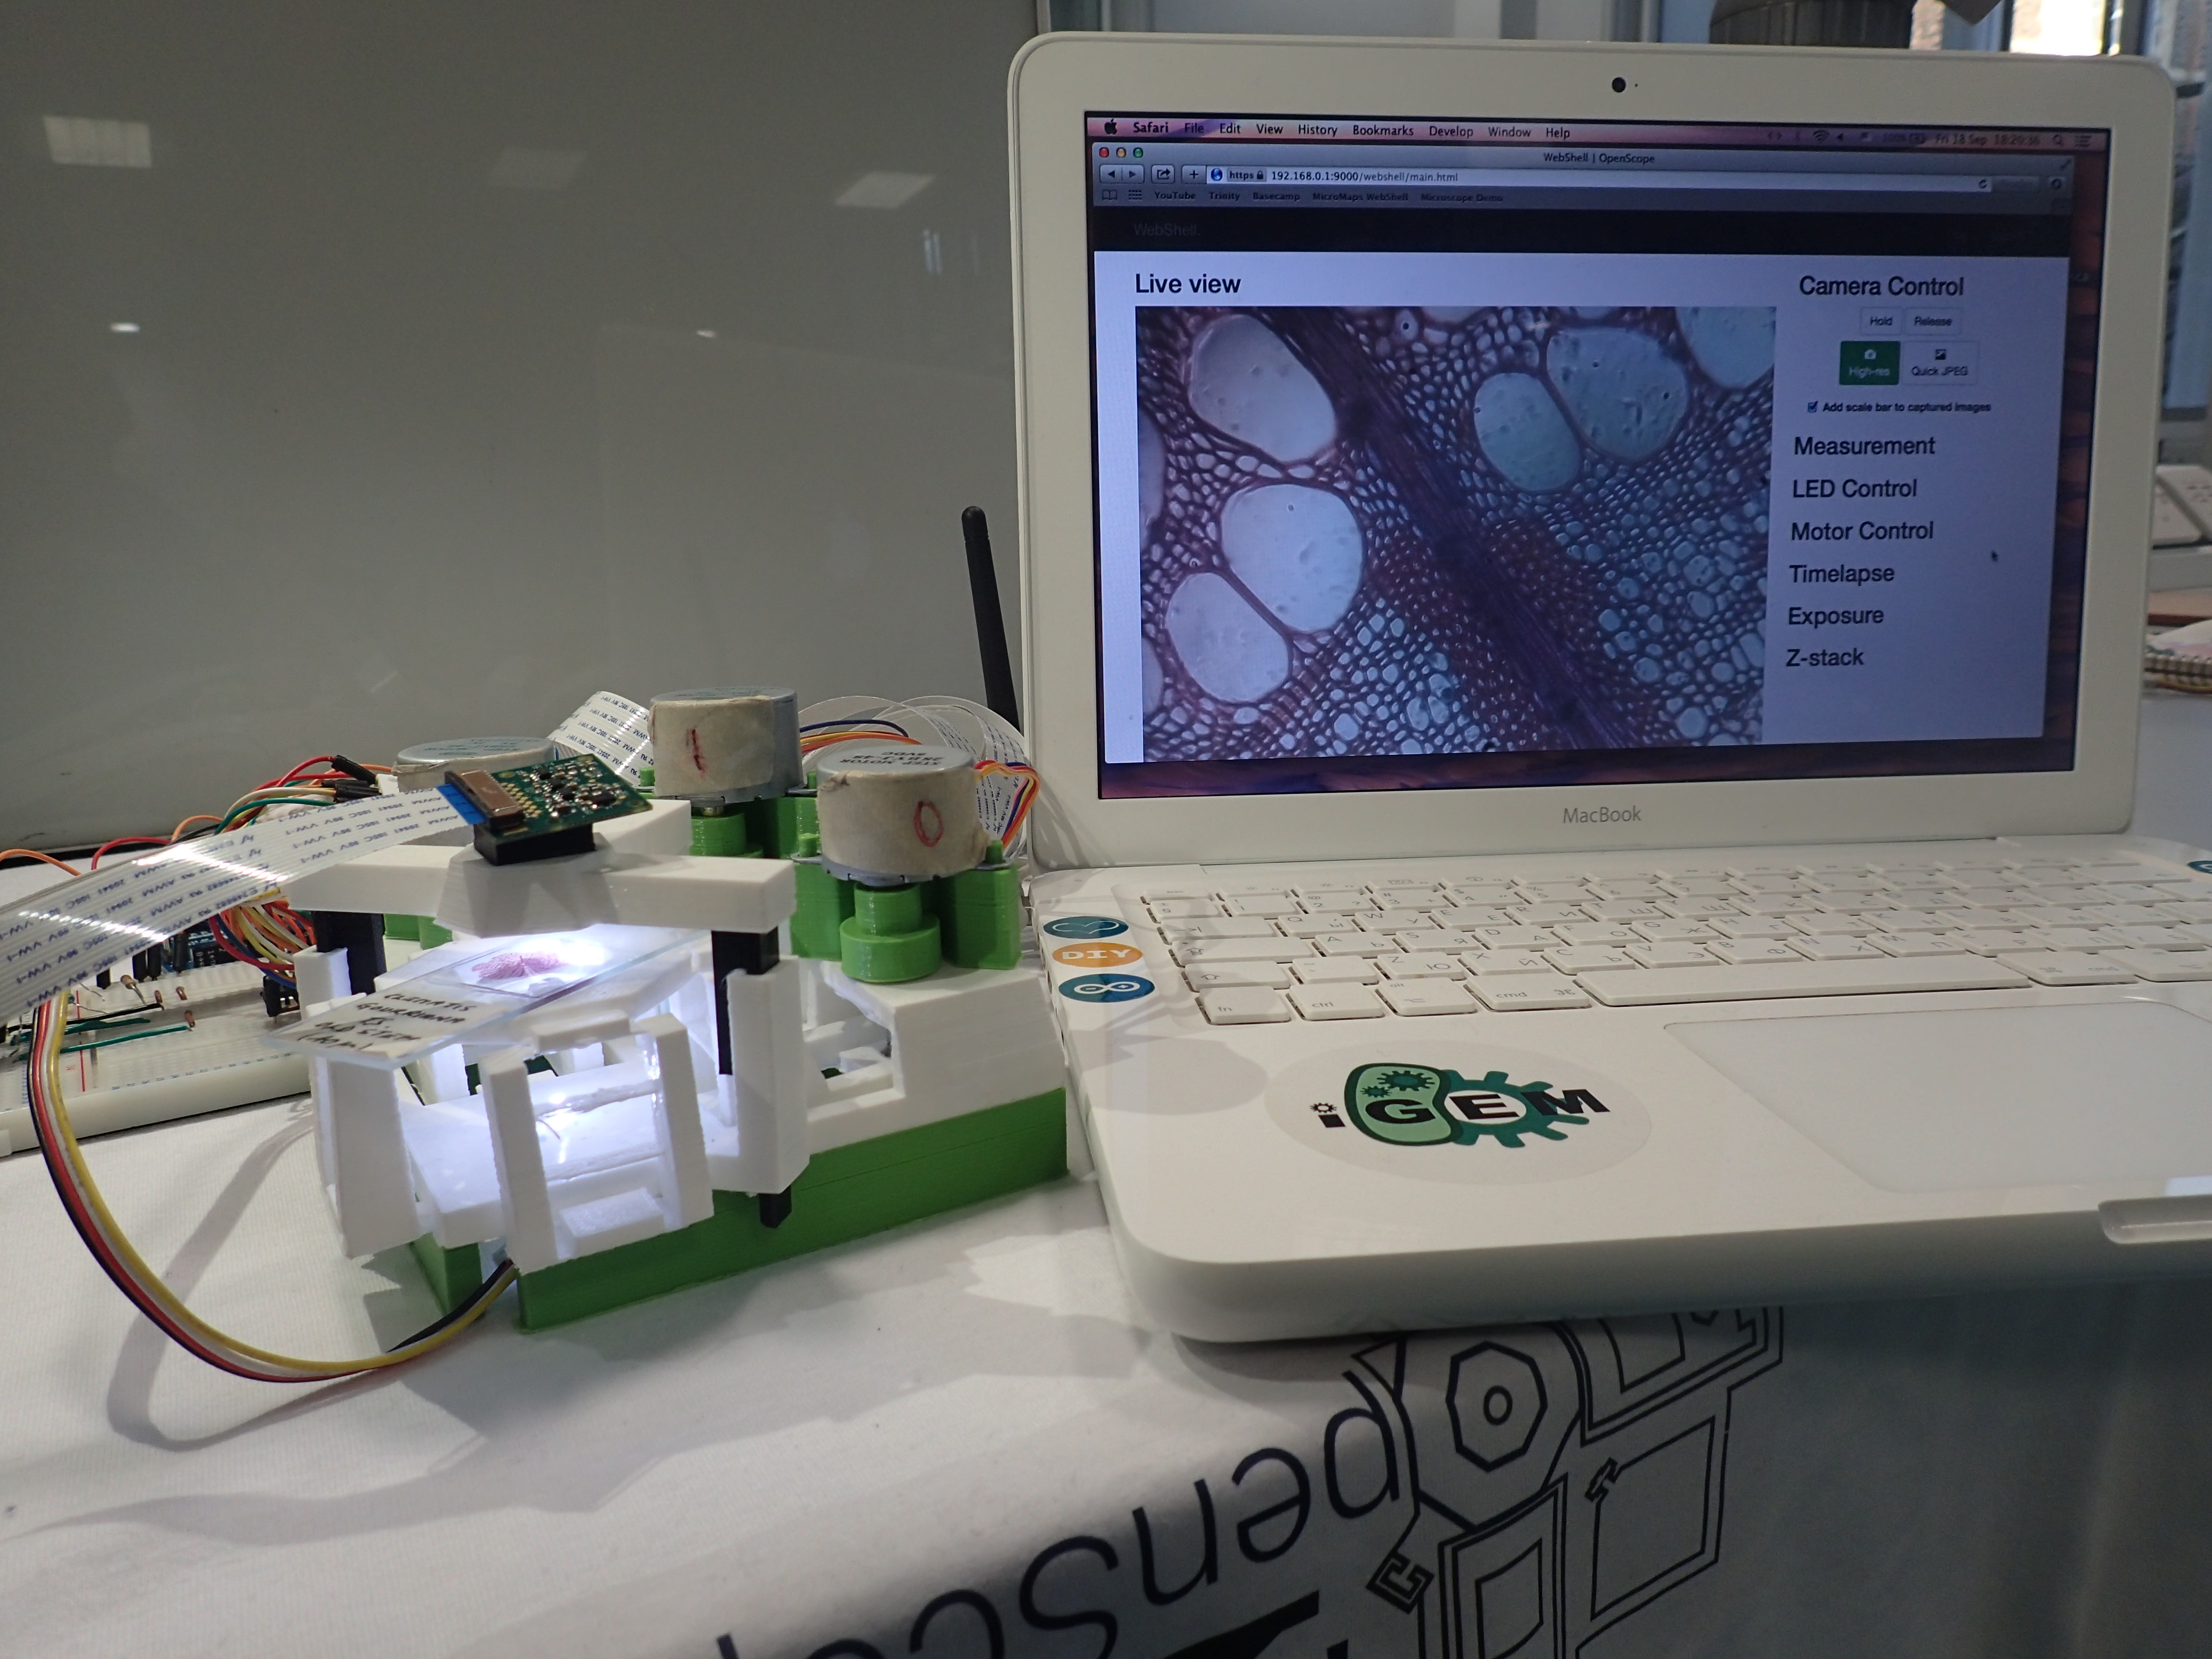
WebShell provides the basic interface to use the OpenScope. The difference compared to standard microscopy software? It is web based - it can be accessed by multiple people at once and remotely. Watch your samples from the comfort of your sofa at home.

Functionality of the WebShell
Live stream window
The user sees the live stream from the OpenScope Raspberry Pi Camera.
Camera controls
Hold and Release: these buttons start/stop the streamer process. Press these if you accidentally unplug the Raspberry Pi camera during use, to refresh the stream. They also come in useful if another program needs access to the camera (these only stop the stream, but do not interrupt the entire OpenScope server).
High-Res: this button interrupts the stream to capture a 3MP png image.
Quick JPEG: captures a snapshot directly from the stream (in jpg format, with lower resolution) - the advantage of this command is that it responds faster than the High-Res capture, and the image is exactly as viewed in the streamer.
(Note: High resolution pictures sometimes appear differently coloured in comparison to the picture in the stream. This is due to camera white balance adaptation settings.)
Add Scalebar: tick the box if you want a scale bar added to your image. It will be automatically positioned in the bottom left corner. In order to get exact scale bars, calibrate first (see below).
Measurement window
Calibrate: drag and draw a line of known length in the stream window (use a micrometer slide, for example) and input the length. Now you can add accurate scale bars to your images. If you do not calibrate, a default scale bar will be used.
Measure: directly on the live stream window, or on your last captured image.
Clear: clears the measurements and the calibration settings (especially useful when something goes terribly wrong...).
LED controls
Switch between brightfield and fluorescence, turn the lights off, or simply toggle between the options. Tip: pressing Z also works.
Motor controls
More keyboard shortcuts: WASD for x,y-translation and QE for focusing (z-movement). Alternatively, just fill in the number of steps to move in a given direction and press Go or Back. Remember that 513 steps correspond to one full revolution. As a rough guide: go for 500 for coarse, 100 for fine, or 10 for very precise movement. Note: You can have more than one motor rotating at a time.
Time lapse
Set the interval between images and the number of frames to capture. Once you have set up your time lapse, it keeps running even after the browser is closed.
Exposure setting
When the auto exposure mode of the Raspberry Pi camera does not get it quite right, you have the option to input your own settings. Especially useful when working in fluorescence mode: because the expected 'ideal' image should have a black background, for which the camera tries to compensate.
Z stacking
Take images with expended depth of field of view automatically. Set the numbers, and the frames captured will be combined into your super-focused surreal image.
User accounts
The Admin manages the user accounts. These are introduced so that each person using the OpenScope can create their own separate gallery.
Gallery
You can view your captured images in the gallery (along with other people's pictures) or in a raw file listing for batch download. This also enables you to delete those not very successful images which you probably took when you first tried the OpenScope...
Go retro
Personal favourite. Formatting 21st century technologies into a 90's style. Good old times.
WebShell was developed by Souradip, with useful feedback and advice from the rest of the Software team.

Also available on mobile
How to get WebShell running
You will have to install NOOBSCOPE. Visit our Downloads page to get the files and the instructions.
Takes roughly thirty minutes and you will be able to enjoy microscopy!
WebShell: opens up possibilities for unusual experimenting.
ABOUT US
We are a team of Cambridge undergraduates, competing in the Hardware track in iGEM 2015.
read moreLOCATION
Department of Plant Sciences,
University of Cambridge
Downing Street
CB2 3EA
CONTACT US
Email: igemcambridge2015@gmail.com
Tel: +447721944314


