Team:Czech Republic/Microfluidics
Microfluidics
Contents
Introduction
The diffusion processes are slow, and the inertial effects are negligible on micro-scale with low Reynolds number [Angelescu2011] [Nam2002]. Hence microfluidics enables complex control of the cellular microenvironment. Microfluidic experiments in conjunction with live fluorescence microscopy were designed and performed to verify and characterise the developed IOD system, the signal transmission, and the agglutination mechanism.
Soft-lithography
Microfluidic channels were formed using PDMS soft-lithography technology, which has proven biocompatibility and can be readily applied in available laminar flow cabinets. Photomask and silicon master fabrication was outsourced. Fabrication of microfluidic devices was divided in two subsequent steps. In the first step, silicon masters were used for the PDMS molding. In the second step, PDMS molds were bonded to the glass substrates to form encapsulated microfluidic devices using air plasma technology.
PDMS molding
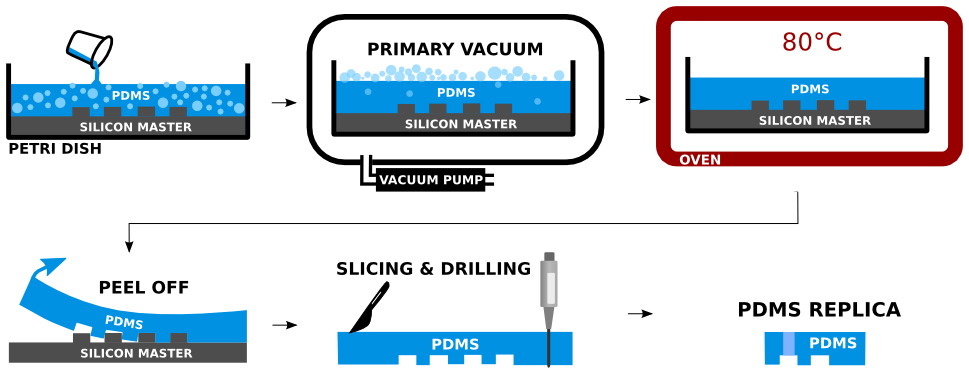
Two part silicone elastomer Sylgard 184 is used to produce PDMS. The base part is mixed with sufficient amount of curing agent (10:1 ratio). The mixture is centrifuged to remove the air bubbles introduced by the mixing. The Si master is placed in an aluminum foil container and the mixture is poured over. The remaining air bubbles are removed from the PDMS by sharp tip of a needle. The poured PDMS is maintained in perfect horizontal position to assure good planarity, and is cured in an oven, for 2 hours at 80°C. The PDMS edges are cut off with sharp tool and the PDMS is peeled off the Si master. The PDMS mold is sliced into sections containing individual devices. Inlets and outlets are drilled carefully by biopsy punch of the appropriate diameter at the desired locations of the PDMS replica.
Bonding of PDMS to the glass substrate
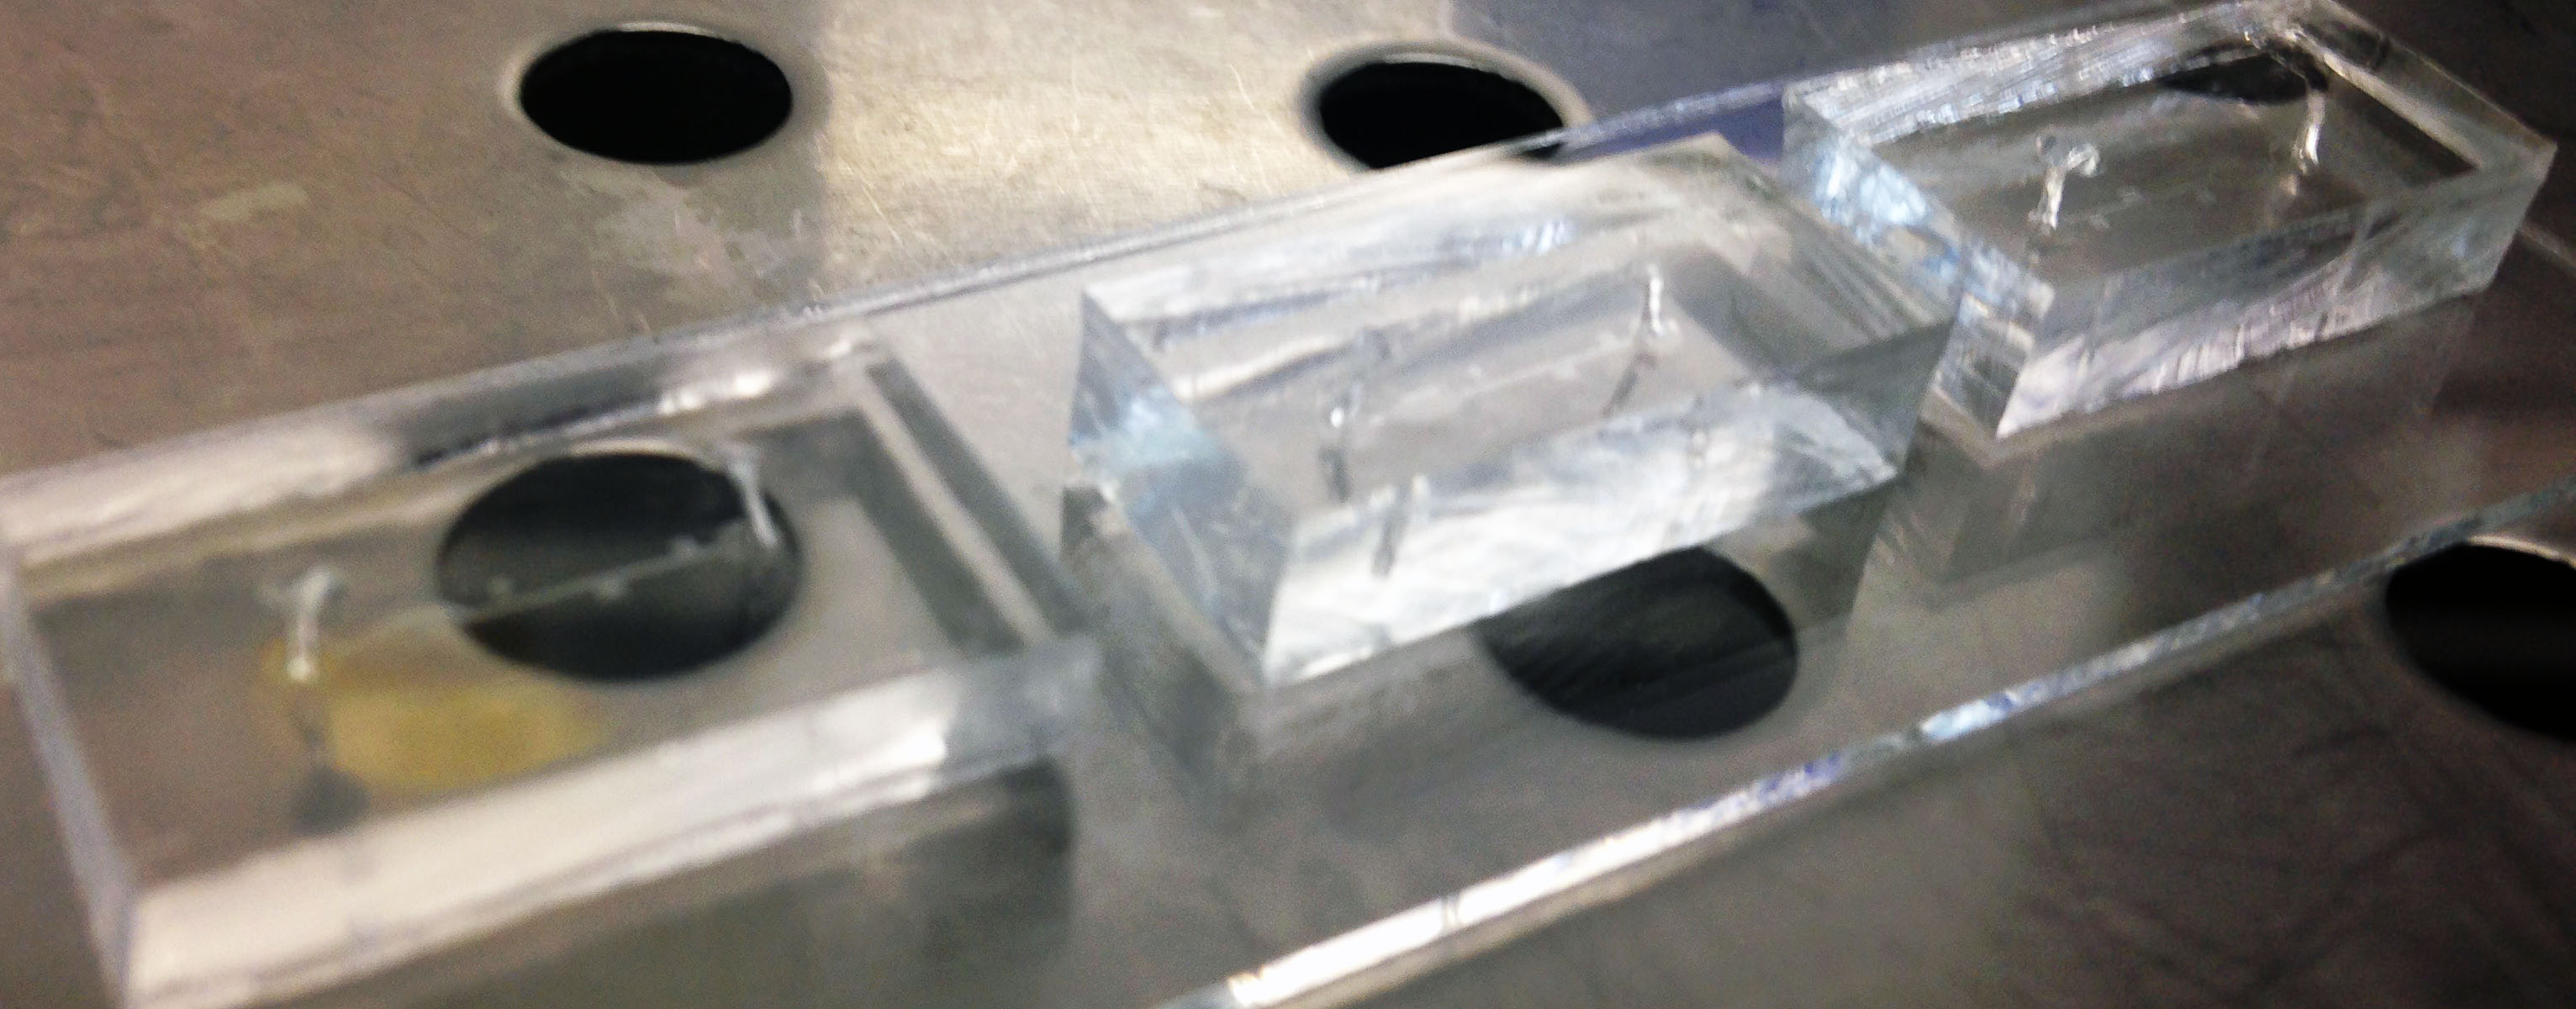
Prepared PDMS replicas with imprinted micro-structures are cleaned properly with scotch tape. The PDMS and glass substrate are treated by air plasma for 2.5 minutes. The air plasma affects the PDMS backbone and forms reactive silanol functional groups (Si-OH) enabling formation of permanent irreversible covalent bond of the PDMS to the glass substrate [Wong2009]. In addition, the PDMS treatment with air plasma is beneficial as it avoids nonspecific adsorption, decreases cell clogging and turns the PDMS to hydrophilic. The hydrophilicity of PDMS facilitates the future microchannel wetting [Kalio2006]. Immediately after the air plasma treatment, the glass substrate is brought into contact with the PDMS replica and placed in the oven, for 5 minutes at 80°C. The bonded devices were stored in a room temperature. Inlets and outlets were sealed with scotch tape to avoid contamination.
Experimental setup
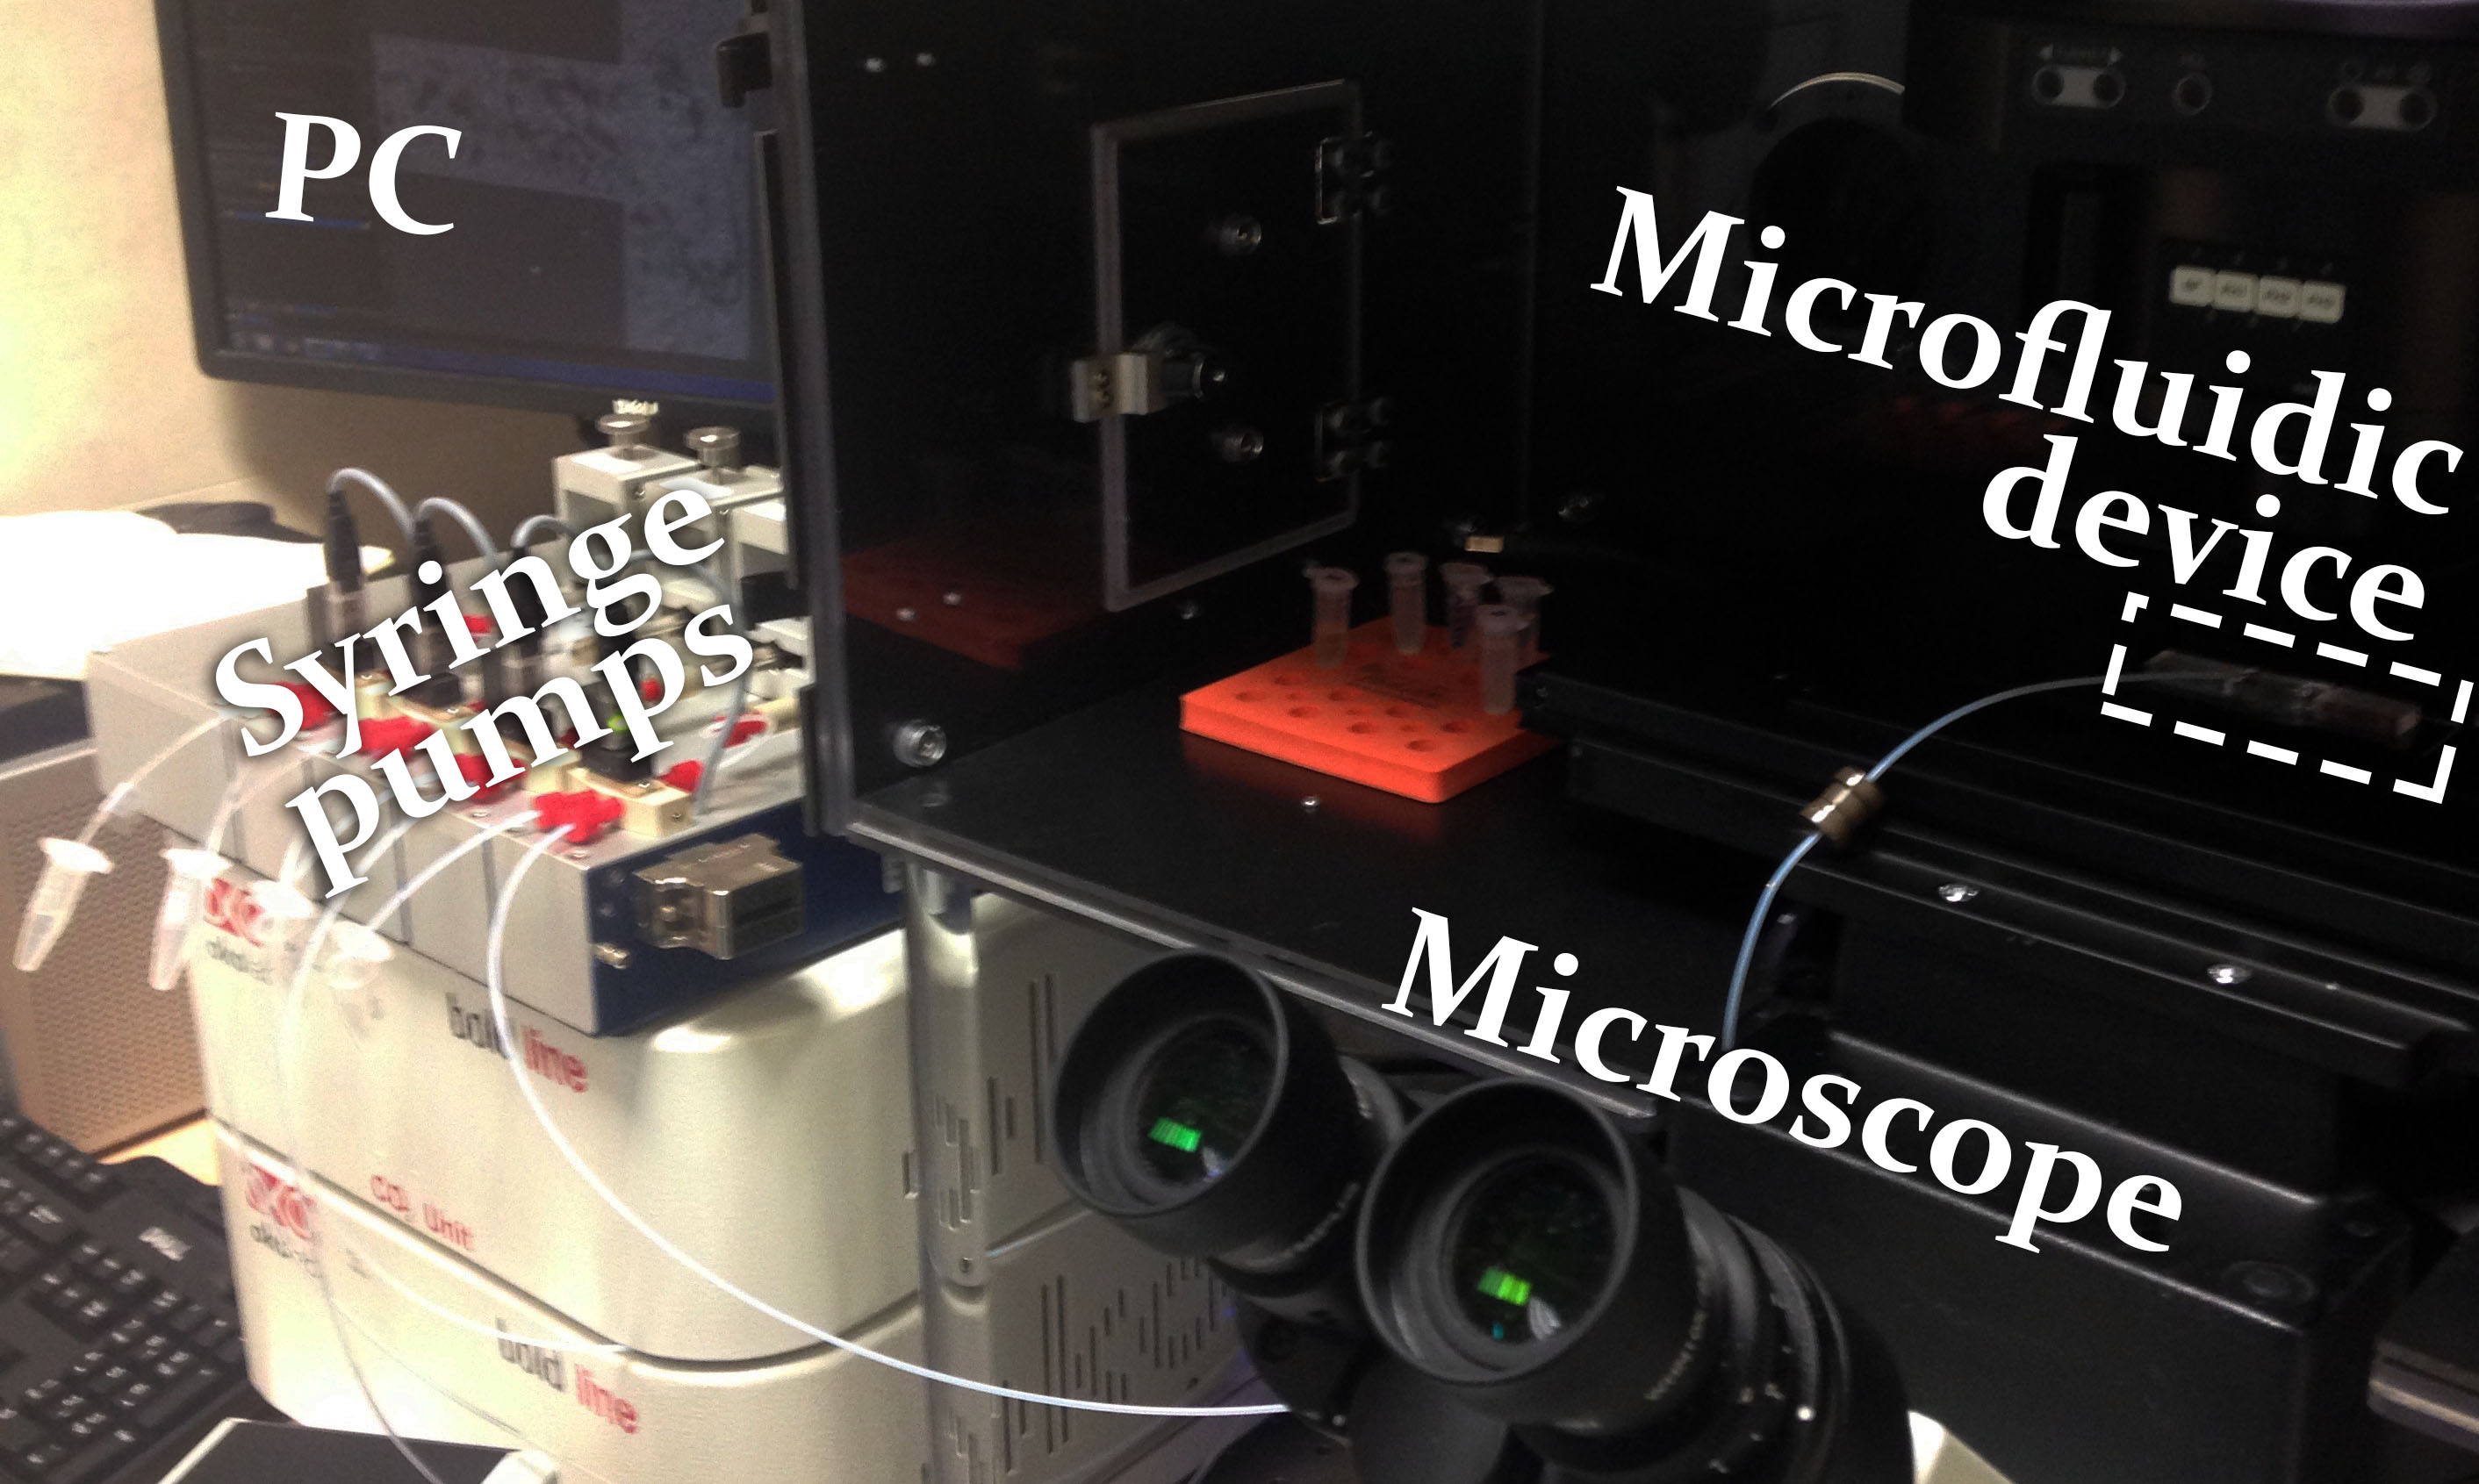
Microfluidic experiments were conducted on a platform already established by the Georgiev lab. The laboratory is equipped with precise microfluidic syringe system (neMESYS Low Pressure Syringe Pumps), and microscopic station enabling fluorescence imaging and live cell microscopy (Olympus IX83).
Microfluidic experiments
Signal transduction distance and dynamics
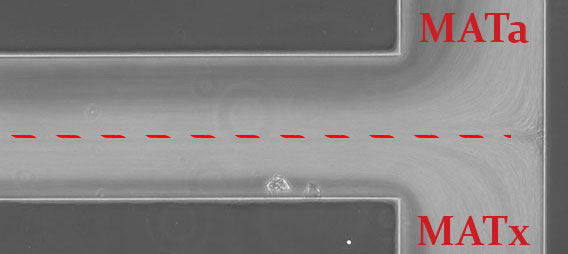
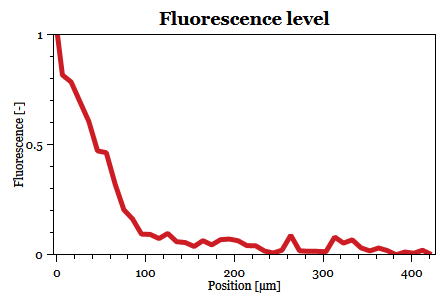
Fabricated microfluidic devices were used to characterise the signal transduction between two types of cells. The first type of cell transmits signal in the form of pheromone to the receiving cell type. Both cell types are introduced to the microfluidic device in parallel through separated inlets. The receiving cell contains synthetic reporter plasmid responsible for expression of Green Fluorescent Protein (GFP) when pheromone molecule reaches certain threshold and activates the MAPK cascade. Thanks to the laminar nature of the flow, the individual cell types remain spatially separated inside the microfluidic device. The spatial separation is well visible during the filling of the microfluidic device. The flow is stopped when the filling of the microfluidic device is finished, and the rest of the experiment is performed statically. Time lapse fluorescence microscopy is used to dynamically measure levels of GFP expression in the cells that receive the signal. Results of the experiment show...
Agglutination on-chip
Standard techniques testing agglutination require specialized equipment occupying large bench space, and are exhaustively time consuming. Special microfluidic topologies were designed to test yeast induced agglutination on-chip.
Personnel
- Martin Cienciala - Microfluidic experiments
- Vaclav Pelisek - Fabrication of microfluidic devices
- Pavel Fikar - Scientific advisor
References
- ↑ Dan E. Angelescu (2011). Highly Integrated Microfluidic Design. Artech House, Norwood.
- ↑ Nam-Trung Nguyen and Steven T Wereley (2002). Fundamentals and applications of microfluidics. Artech House.
- ↑ Ieong Wong (2009). Surface molecular property modifications for poly(dimethylsiloxane) (pdms) based microfluidic devices. Microfluid Nanofluid, 7:291–306.
- ↑ Johana Kuncova-Kallio (2006). Pdms and its suitability for analytical microfluidic devices. In Proceedings of the 28th IEEE EMBS Annual International Conference, New York City, USA, 9, IEEE.
