Team:Cambridge-JIC/Tech Specs
Technical Specifications: Fact File
Power
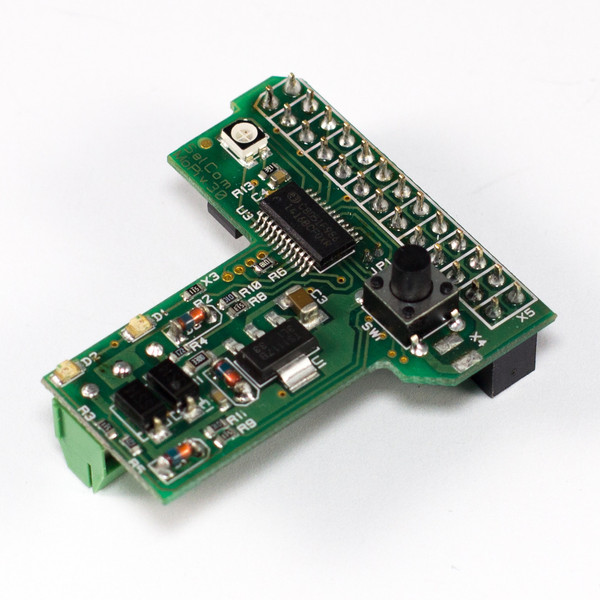 All of the OpenScope electronics consume 10 times less power than just the arc lamp of a typical lab-bench fluorescence microscope. OpenScope can run on battery for up to 12 hours. This time was estimated on the basis of a power consumption analysis. To power OpenScope from batteries up you will need the MoPi power module for Raspberry Pi and two 9V batteries. We recommend replacing the single 9V cell for a series of 6 1.5 AA batteries for best performance. For this purpose, you can 3D print this battery holder.
Cleaning
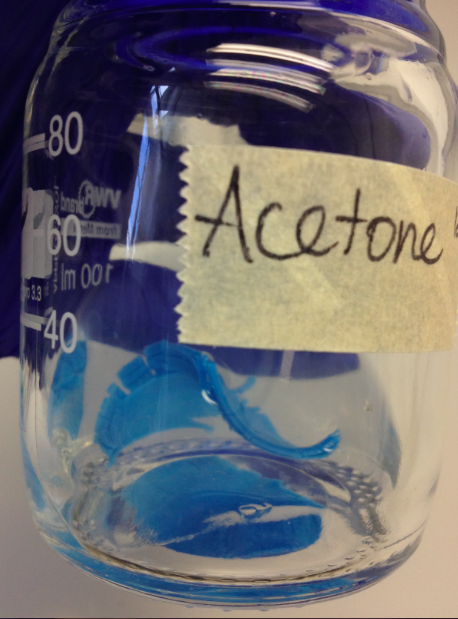 We are aware that an item placed into the sterile environment of an incubator can cause contamination to any living samples. But this will not happen with OpenScope, if you simply spray it with isopropanol before using. Isopropanol (propan-2-ol) is safe for the PLA and the electronics. Never attempt to use methanol (this will make the PLA soft) or acetone (this will dissolve the plastic).
Stage Drift
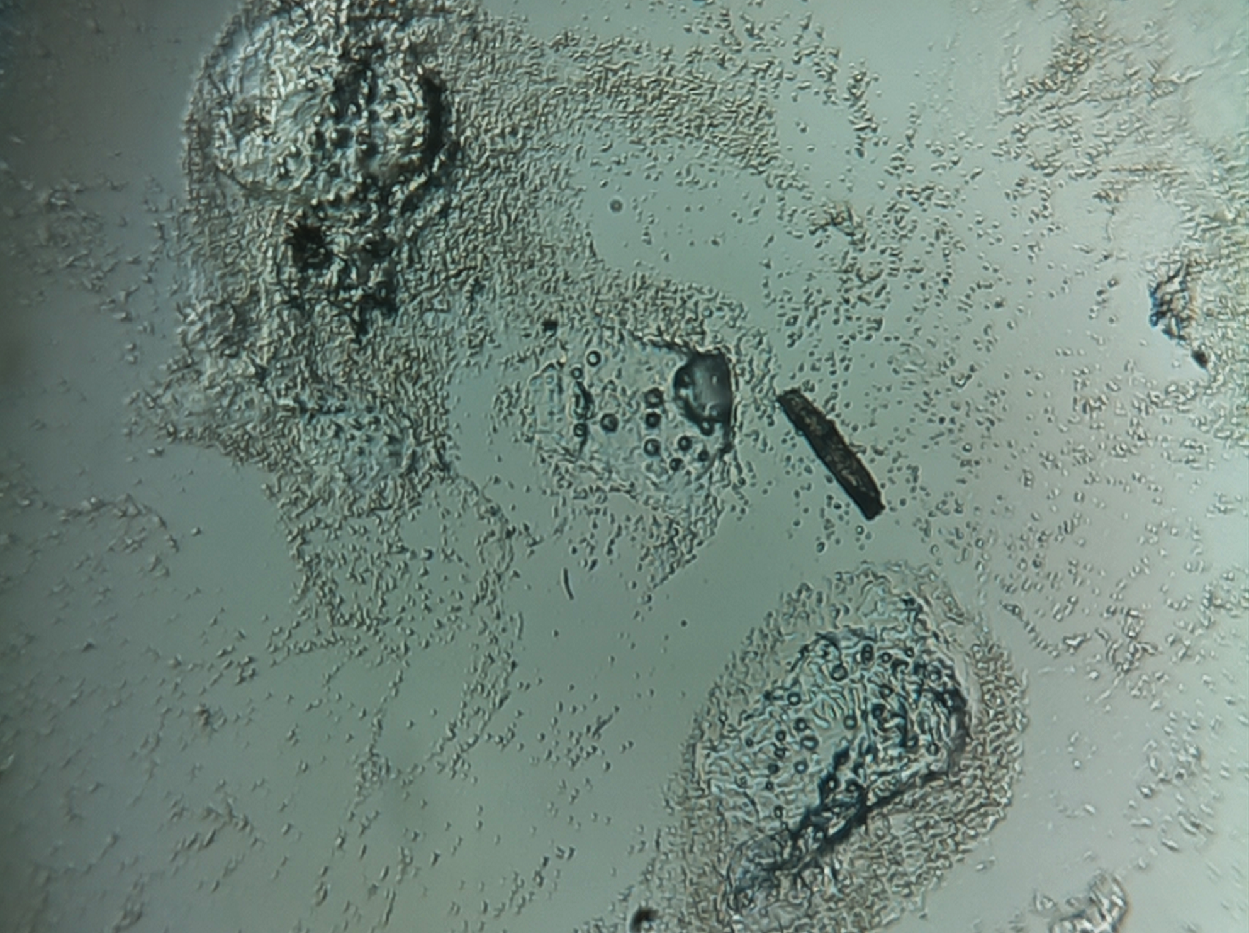
![]() In order to perform time-lapse imaging, the digital microscope must be left capturing images for long periods of time. However, most microscope stages exhibit a drift, which causes the sample to move during the experiment. OpenScope is not an exception, especially given the fact that the stage is made of plastic. In order to characterise our prototype brightfield microscope, an experiment was set-up to record the movement of points (fiducial mark) on a slide over a period of roughly 16 hours. You can see our experimental findings below. In spite of the drift, OpenScope is still suitable for time-lapse imaging, if used in conjunction with software which is capable of point tracking.
In order to perform time-lapse imaging, the digital microscope must be left capturing images for long periods of time. However, most microscope stages exhibit a drift, which causes the sample to move during the experiment. OpenScope is not an exception, especially given the fact that the stage is made of plastic. In order to characterise our prototype brightfield microscope, an experiment was set-up to record the movement of points (fiducial mark) on a slide over a period of roughly 16 hours. You can see our experimental findings below. In spite of the drift, OpenScope is still suitable for time-lapse imaging, if used in conjunction with software which is capable of point tracking.
Optics
 The imaging system of OpenScope is based on a Raspberry Pi camera. Inverting the lens of the camera converts it into a microscope objective. Read why in the document below. With the Raspberry Pi Camera, resolution of 4 μm was achieved, but then sub-micron resolution was reached with a commercially available ball lens (from Comar Optics). The objective of OpenScope is 3D-printed, like the rest of the parts, and the spacing between the CCD and the lens in it was optimized for the lenses we used. However, this is an easily modifiable parameter in our .scad design files, which means that anyone can adapt the objective they use for the magnification, field of view, and resolution they need.
Strength
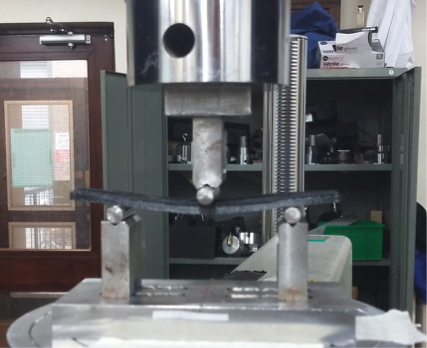 Bending tests were performed to confirm the strength of the OpenScope stage. The material used to print it, PLA, turns out to be 4 times stronger than the alternative material, ABS, and 13 times stiffer than it. We also explored how different orientation of the object during 3D-printing affects its strength, and took this into account when putting together the OpenScope print files. Moreover, it was confirmed that the plastic is not subject to plastic deformation due to weight-loads that the OpenScope stage will typically have to bear. In short: you can put OpenScope in your backpack and not worry about it getting broken (we tried this, too). The detailed report from the strength testing experiments can be found below.